
 View Gallery
2 photos
View Gallery
2 photos
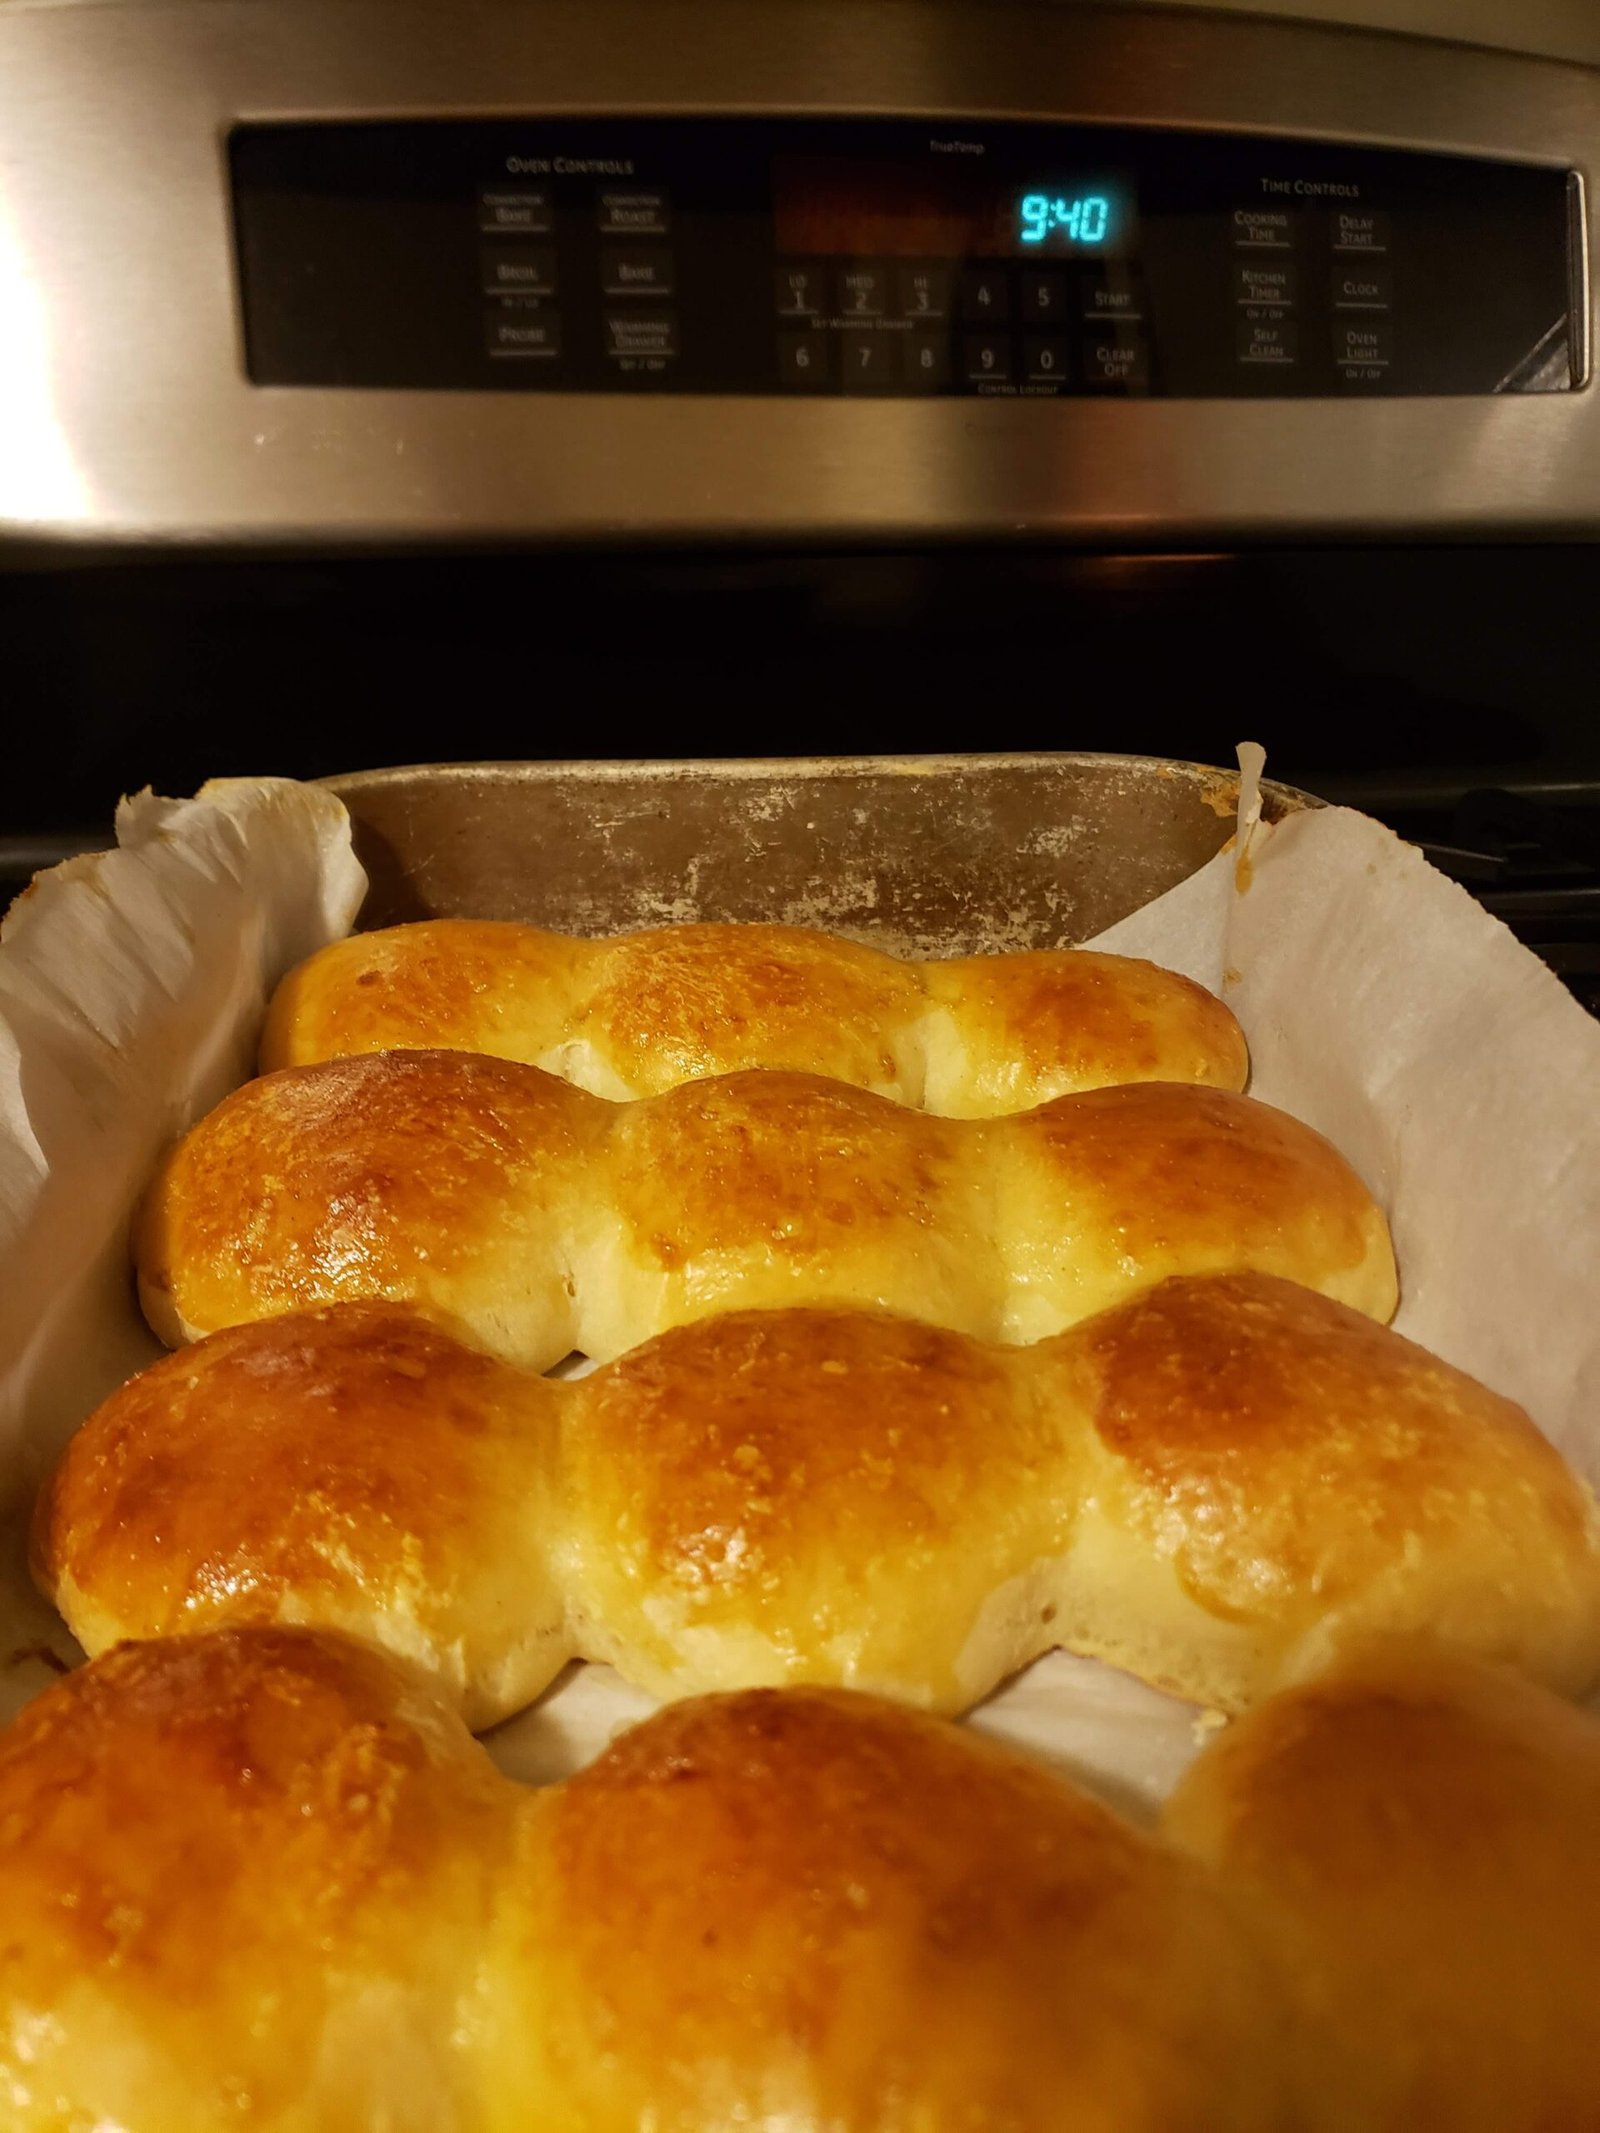
These are the buns you have been craving! I was so tired of buying expensive gluten-free buns in the store that were too small, tasted like cardboard, and disintegrated as soon as you put a juicy burger on it!
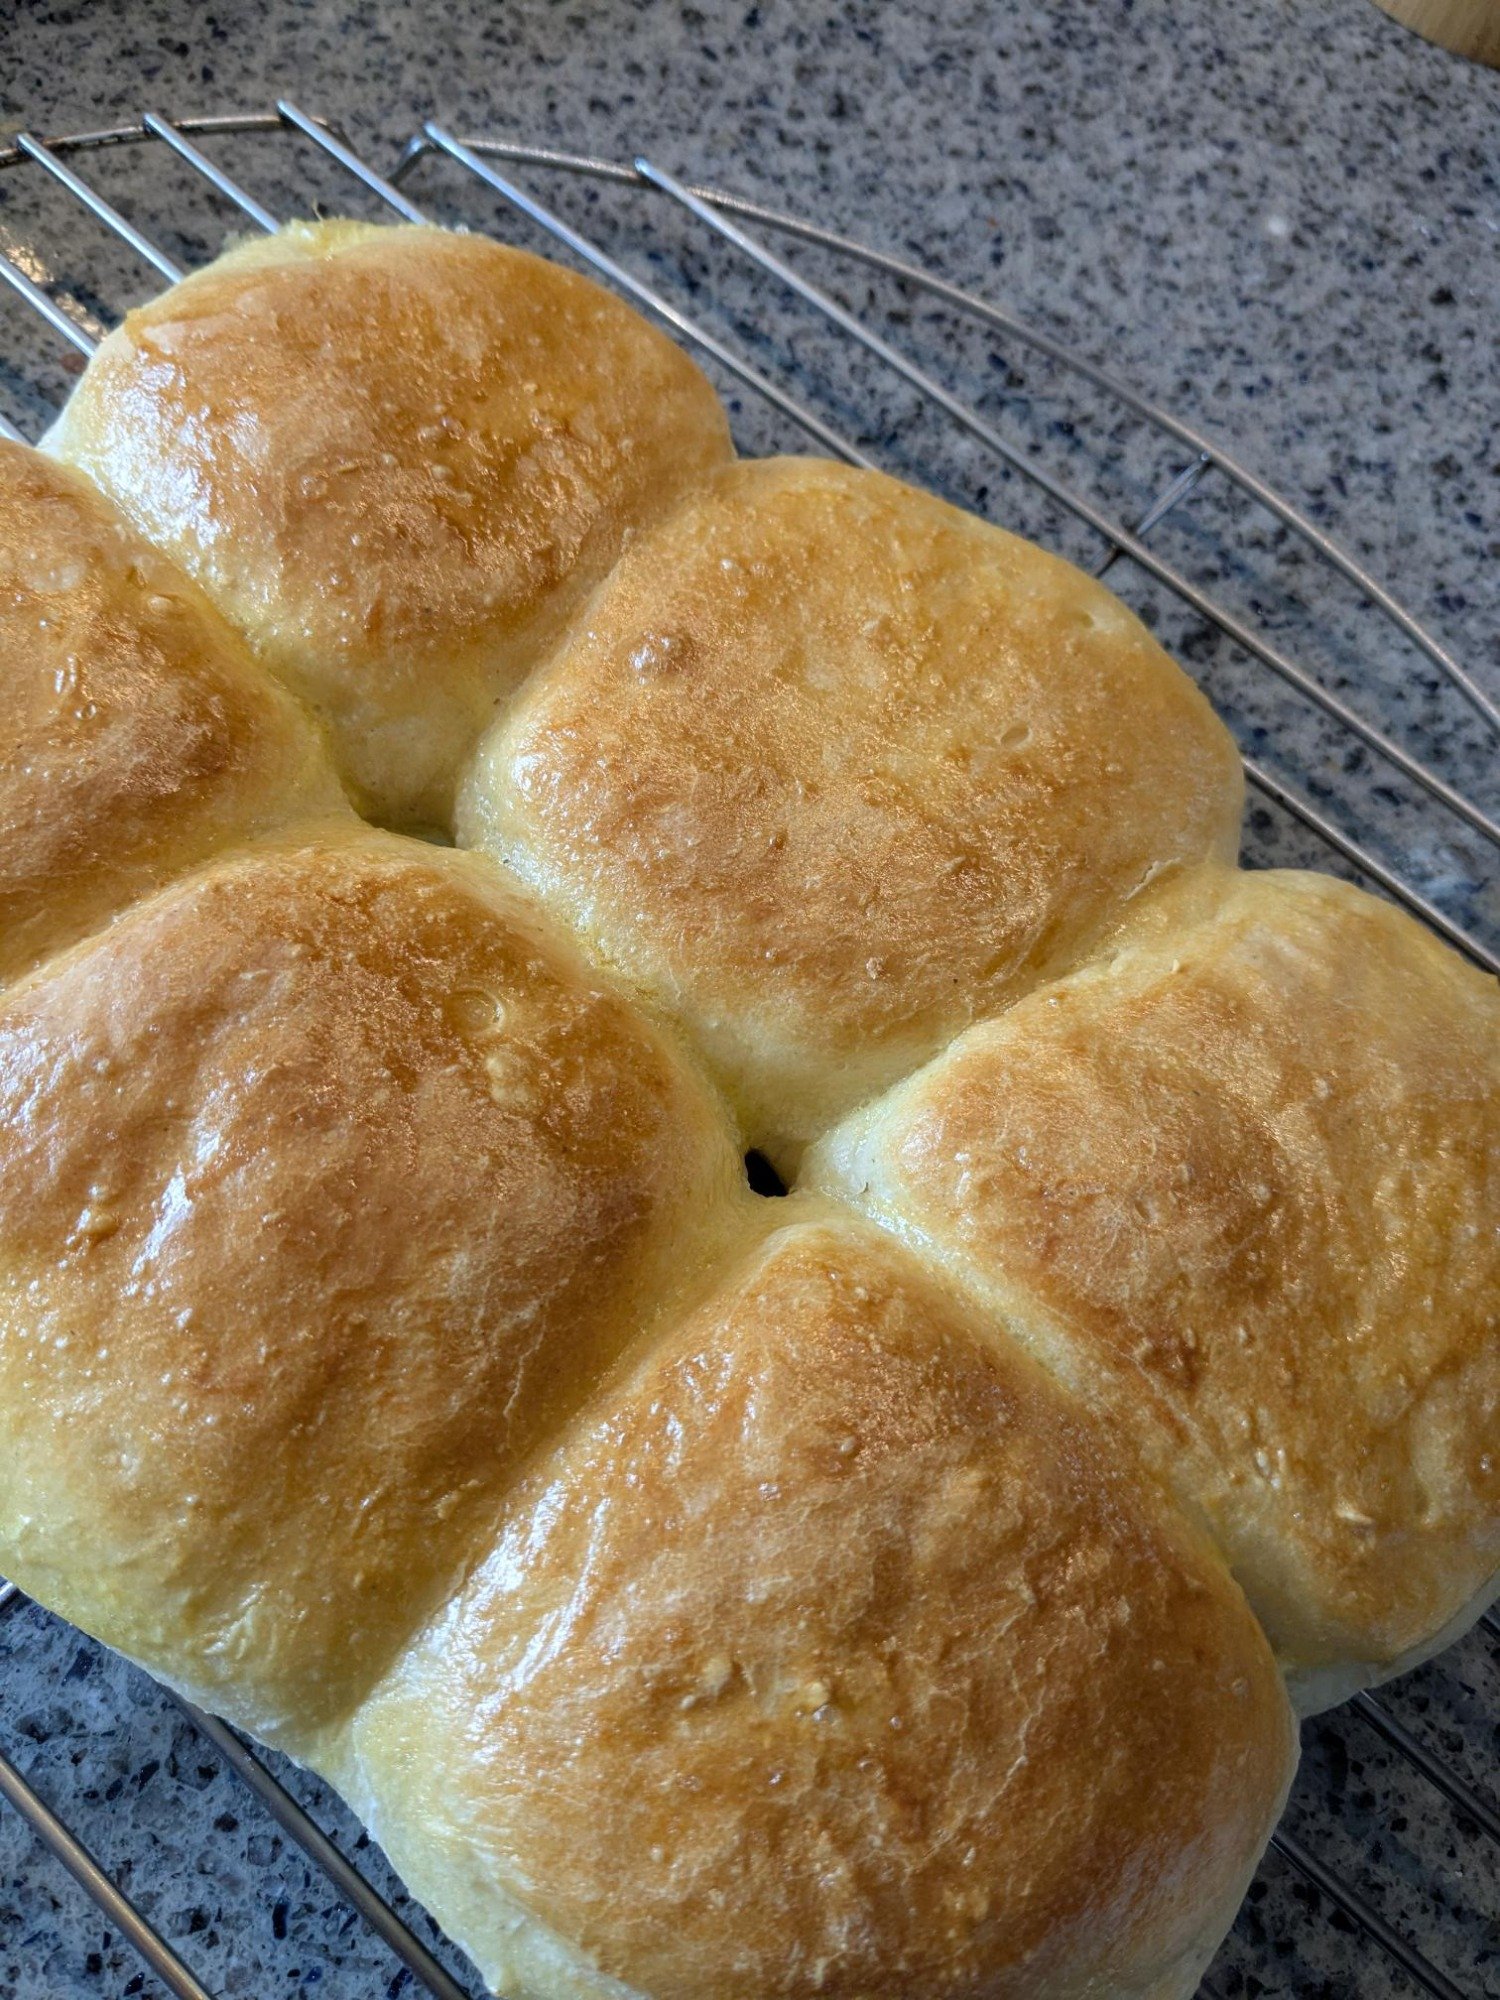
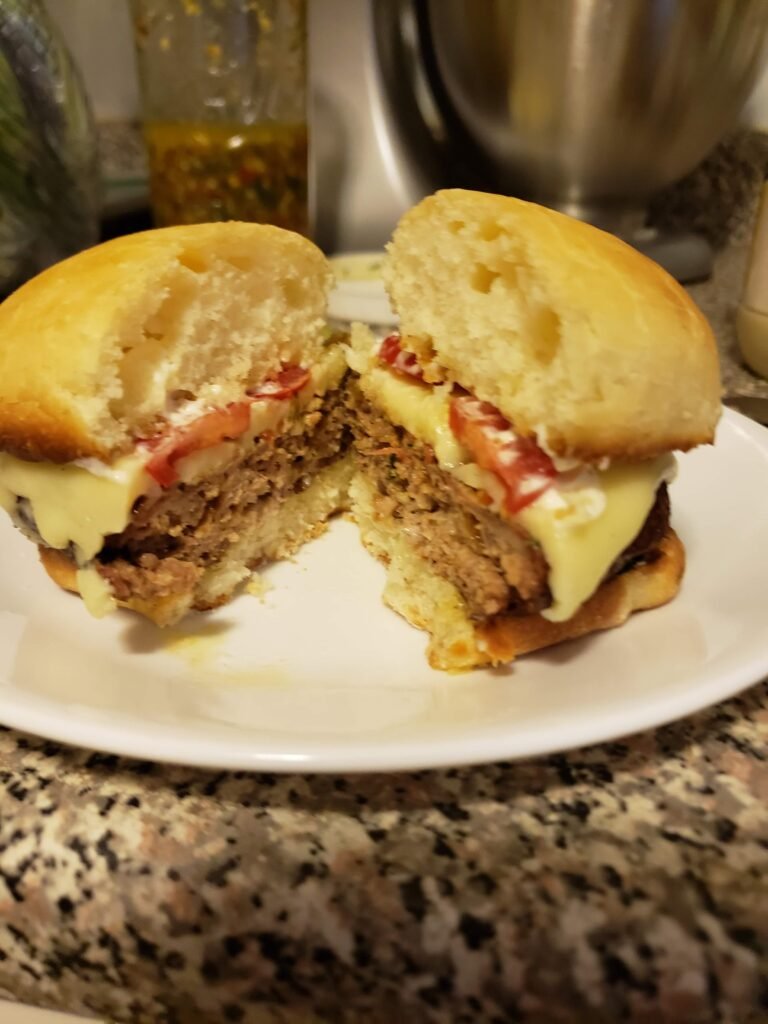
After the success I had with the pizza dough, this was my next project. And it did not disappoint! These Hamburger Buns are so light and delicious! They toast beautifully, hold all the toppings, and even with the juiciest burgers they never turn into a soggy mess! Please note that I have only made this recipe with Caputo gluten-free flour, so not sure how they would be with other brands. Hope to experiment with that more soon!
Please note – recipe will be updated soon to reflect grams of flour instead of cups. In the meantime this has turned out well for me measuring by volume, so sharing it as is for now.
Perfect Gluten-Free Hamburger Buns
These gluten free hamburger buns are light and airy, yet hold together till the very last bite! No crumbling soggy mess - and no one will know they are gluten free! Great as a sandwich roll too!
Ingredients


Instructions
-
Instructions
- Combine water and milk. Warm to 110⁰-115⁰F
- Add yeast and sugar to warmed water/milk. Give a quick stir then cover with a towel and set aside for 5 minutes (should appear foamy when ready)
- In your mixing bowl blend egg, butter & vinegar
- In a separate bowl combine flour, salt, baking powder, mix with a whisk.
- Prepare mixer with paddle attachment.
- Add yeast mixture to the egg, butter and vinegar, start mixing on low. Slowly add flour, 1/4 cup at a time.
- Once all flour is added and well blended turn off the mixer. Switch to dough hook and scrape sides of bowl. Blend on medium for another 5 minutes
- Dough will be sticky! Place into a well oiled bowl.
- Wet your fingers with warm water and gently wet/smooth the top of the dough. Cover bowl with plastic wrap, let rise in a warm place for one hour.
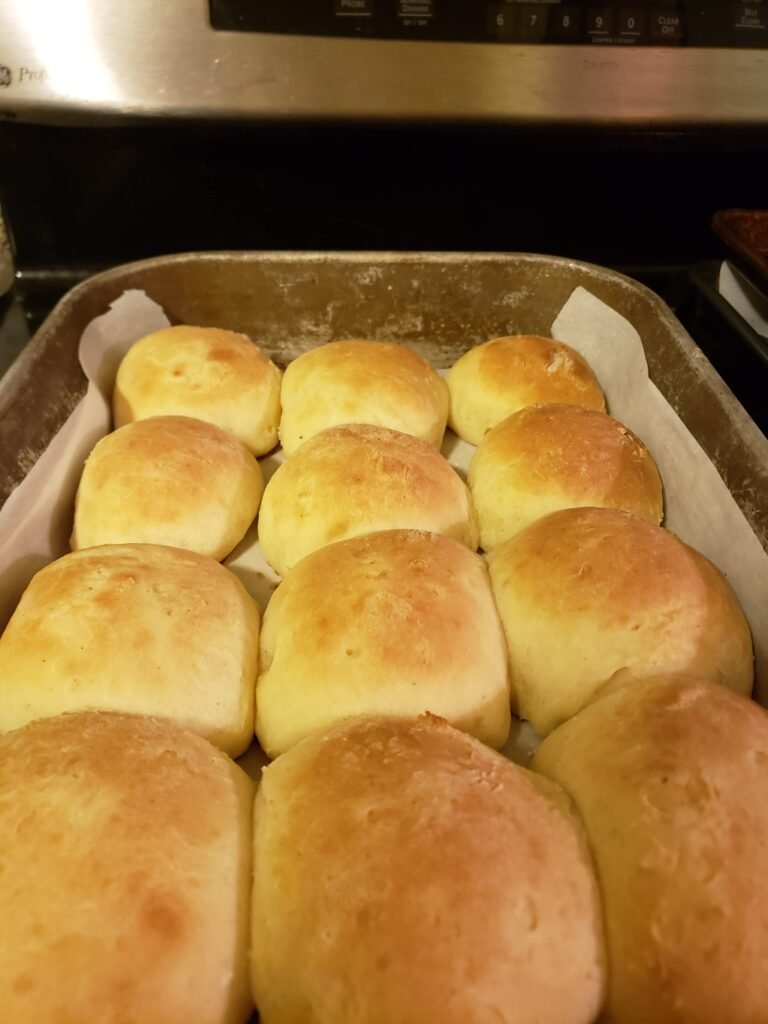
- Prepare a 9x13 baking pan with parchment paper.
- Clean counter area, dust with GF flour. Leave a small pile of flour to the side. Place dough on flour.
- Dust hands with flour and lightly dust top of dough. Gently shape to a square. Using a dough scraper or knife, cut dough into 4 equal rows.
- Form 3 balls from each row (try to keep floured bottom as the bottom of the roll). Flour the bottom of your roll again by setting it on the GF flour then place on the baking pan (should have 4 rows of 3)
- Wet your fingers with warm water and gently smooth and shape each roll. Rewet your fingers as needed.
- Cover and place in center rack of oven for 30 minutes (no heat)
- After 30 minutes remove covering, turn oven on to 350⁰F.
- Once oven has reached 350, increase to 375. Cook for 10 minutes.
- After 10 minutes the crust should be started. Brush the tops with melted butter or an egg wash (optional, but aids in browning).
- Increase heat again to 420, bake for additional 5-10 minutes, until tops are a golden brown.
- Remove from oven, allow to cool before separating.
- Recommend wrapping each individually in plastic wrap to store. Freeze for future use. A few seconds in the microwave they will be ready to serve.
Pin this recipe to share with your friends and followers.
Affiliate Disclosure: This post contains Amazon affiliate links, i.e., when you buy any product using the links below, we get commissions. but it doesn’t cost you anything extra. If you do purchase any product using the given links, we thank you in advance!


User Reviews
These are delicious! My Mom made them for Thanksgiving and I couldn’t believe how great both the taste and texture were!
I made these, followed the recipe exactly, they are cooling now! They look and smell delicious. I made a half batch of 6 and used a smaller pan, somewhat ovoid in shape so the buns aren’t perfectly shaped.
I would very much love to have the Fioreglut flour in grams for this recipe specifically. The package says: 1/3 cup = 30 grams, but when I go by measuring cup volume, its more flour than the weight /volume based on the package.
The dough was super sticky and hard to work with, but lots of flour on my hands and dusting, worked fine in the end.
Thank you, can’t wait to taste!
I also would love to have this in grams – I find it so much easier to ensure I’ve measured out everything correctly. Did you end up using ‘more flour’ and go by the volume measurement or did you use the weight measurement?
I’ve not been able to focus much on my site or baking this last year, but getting back to it now. Will try to update with grams before year end 💜
It is a very sticky dough – hope you enjoyed them!
They are fantastic! Freshly baked, they are sheer perfection. For the rest, I sliced, wrapped individually and froze them and that has worked out really well too! Thank you for the recipe!
I have been absent for some time, but now I remember why I used to love this website. Thanks, I will try and check back more frequently. How frequently you update your website?
Trying to update more often this year. It has been a work in progress, an unexpected start about a year ago. Thank you for your support!
Very interesting topic, regards for putting up.